To create a repeat pattern, you build a single tile whose opposite edges align exactly, then tile it across a bigger canvas and check the joins for visible lines. That's the core technique, and the tutorials teaching it are good at it.
Here's what almost none of them mention: a tile that looks perfect on your iPad can still fall apart the moment it gets cut and sewn into a hoodie.
If you've followed a pattern tutorial to the end, you already know how to make the tile. What nobody tells you is that the tile is roughly half the job. The other half is physical, and it's where the money gets lost: a motif scaled for a screen prints comically large on fabric, a left sleeve doesn't match its right, and a join that vanished in Photoshop lands across a chest seam.
This guide covers both halves. First the build, using the offset method, Procreate, and Illustrator. Then the three ways a technically correct tile still breaks on a real garment, and how to catch each one before you pay for a sample.
Key Takeaways
- A repeat pattern is one tile with matching opposite edges. "Repeat" describes the tile, not the finished product.
- Spoonflower supports basic, half-drop, half-brick, center, and mirror repeats, and each tiles your art differently (Repeat Options).
- Edge gaps print as visible "pixel lines" that are hard to see in your design file, which is why Spoonflower keeps a dedicated guide to checking for repeat flaws.
- Print scale is set by pixel dimensions against DPI, not by how the tile looks on screen. Printful's minimum for non-paper products is 150 DPI (graphics guide).
- Flat tiles have no concept of garment panels, so sleeves, hoods, and mirrored pairs need alignment work that no pattern tutorial covers.
What a Repeat Pattern Actually Is
A repeat pattern is a single tile of artwork designed so its opposite edges match: the right edge continues into the left, and the top continues into the bottom. Tile it in a grid and the joins disappear, letting one small piece of art cover any amount of surface. Spoonflower describes the result as a design that, when placed side by side, has edges that match with no gaps (What's a Seamless Repeating Pattern?).
That definition is doing a lot of quiet work. Nothing in it mentions size, orientation, or what the pattern gets printed on. Those omissions are where garment projects go wrong.
Full-Drop, Half-Drop, and Brick Repeats
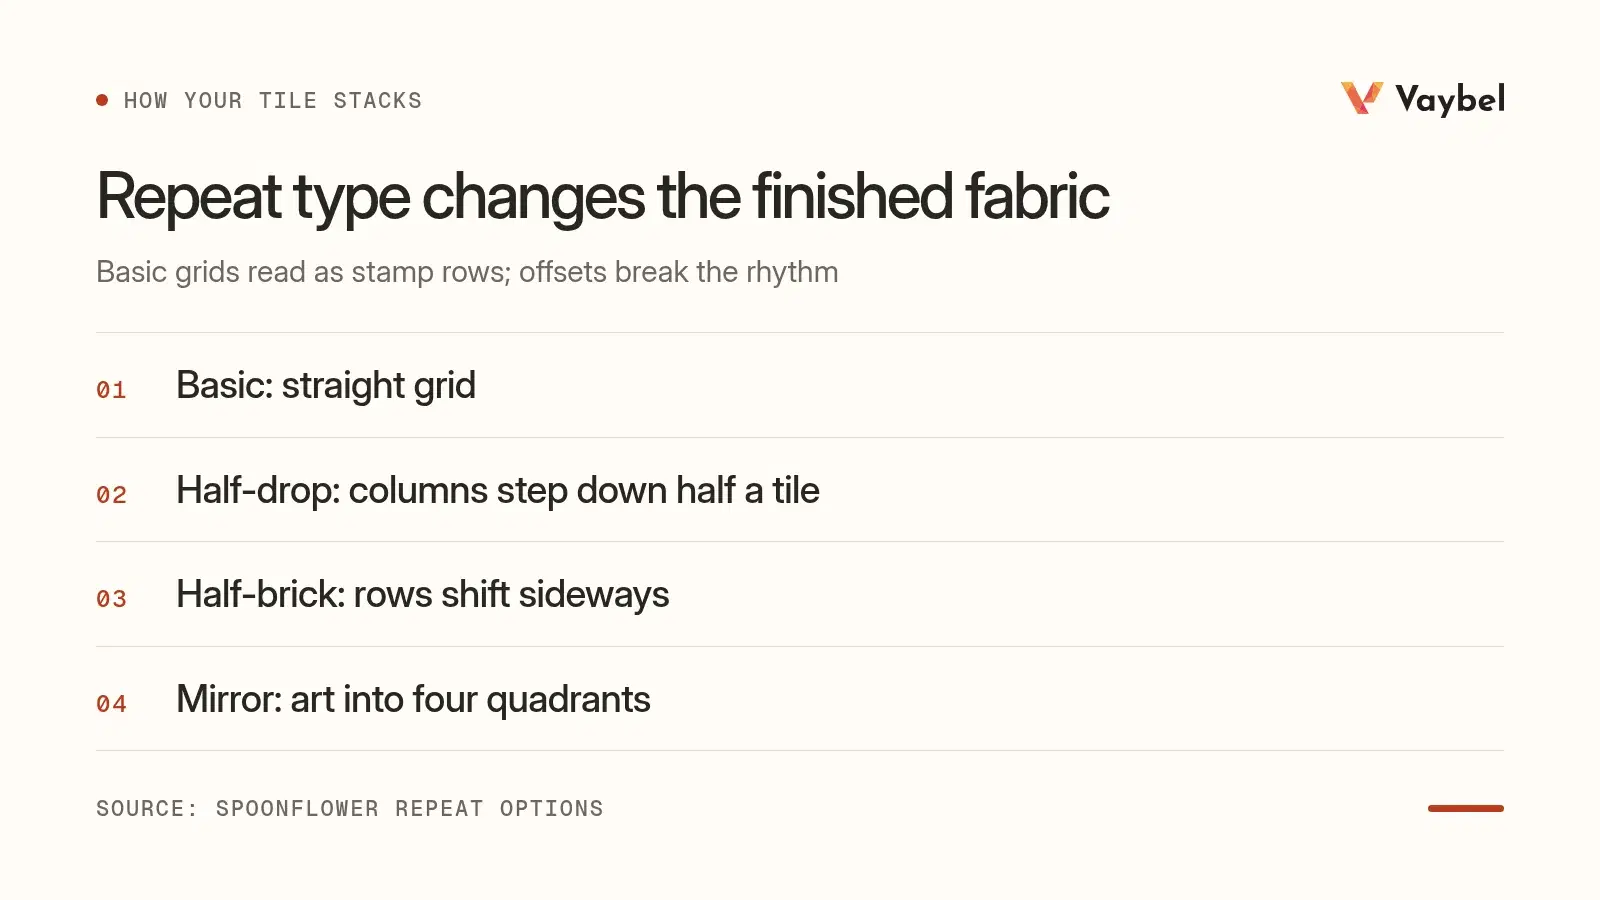
The repeat type decides how your tiles stack, and it changes the look of the finished fabric far more than most people expect. Spoonflower's repeat options cover the five you'll meet in practice.
| Repeat type | How it tiles | Best for |
|---|---|---|
| Basic (full-drop) | Straight grid, tiles stacked square | Geometric art, stripes, anything already aligned |
| Half-drop | Each column steps down by half a tile as you move right | Hiding the grid in florals and organic motifs |
| Half-brick | Each row shifts sideways as rows move up, like brickwork | Breaking up obvious horizontal banding |
| Center | One iteration printed in the middle, no tiling | Placement prints, panels, scarves |
| Mirror | Art mirrored into four quadrants so edges meet | Photos and scans that won't tile cleanly (details) |
Basic repeats are the easiest to build and the easiest to spot. Because every tile sits square to its neighbors, the eye picks up the grid quickly, and any repeated motif reads as a row of identical stamps. Half-drop and half-brick both break that rhythm by offsetting alternate columns or rows.
Adobe builds the same idea into Illustrator as "Brick by Row," where an offset value controls how far tiles in adjacent rows sit out of vertical alignment (Adobe's pattern documentation). Set that offset to half a tile width and you have a half-drop without doing any manual math.
Why "Seamless" Describes the Tile, Not the Product
This is the distinction that matters for clothing, and it's worth being blunt about. A tile is seamless when its edges match each other. A garment has real seams: stitched joins between separately cut panels, and those seams don't care what your tile does.
Printing a pattern onto a finished blank and printing it across cut-and-sew panels are different jobs with different failure modes. A tile that passes every check in Photoshop can still produce a hoodie where the sleeve pattern runs at a different scale to the body.
Want to see what automated tiling handles before you commit a weekend to it? Explore Vaybel's AI Design Generator →
How to Create a Repeat Pattern, Step by Step
Three routes cover almost every workflow. Pick based on the software you already own rather than which one a tutorial prefers.
The Offset Method in Photoshop
The offset method is the original technique and still the most reliable, because it forces you to draw across the joins rather than hoping they work.
- Create a square canvas and fill it with your background color.
- Place your motifs, keeping them away from the canvas edges for now.
- Apply Filter, then Other, then Offset. Set horizontal and vertical to half your canvas dimensions and choose Wrap Around.
- Your artwork now sits at the corners, and the former edges run through the middle as a visible cross.
- Draw new motifs over that cross, without touching the outer edges.
- Offset again by the same amount to return to your starting view, then check the joins.
Step five is the whole trick. You're filling the gap along the join while the join sits in the middle of the canvas, where you can actually draw on it.
The Procreate Route
Procreate has no offset filter, so the method is manual and depends on a canvas you never resize.
- Draw your motifs on their own layer and group them.
- Duplicate the group, then use the Transform tool's position values to nudge the copy sideways by exactly one canvas width.
- Repeat vertically, so copies surround your original on all four sides.
- Add a new layer and draw your join-filling motifs across the overlaps.
- Delete the duplicate groups before you export.
It's fiddlier than Photoshop and it's still how a lot of pattern designers work, because drawing feels better on an iPad. Commit to one canvas size at the start, since resizing mid-build resamples your art and softens every edge.
The Illustrator Pattern-Tile Route
Illustrator is the only one of the three that does the repeat math for you. Select your art, then choose Object, Pattern, Make. Illustrator opens Pattern Options, shows you a live preview of the tiling, and lets you switch tile type between grid, brick by row, brick by column, and hex (Adobe's guide).
Because the output is vector, you can scale the finished pattern to any print size without losing edge quality. That alone is a strong argument for building the repeat in Illustrator even if you draw elsewhere.
How to Check Your Tile for Visible Seams
Never trust a tile you haven't tiled. Edge gaps show up in print as lightened strips or hard lines that Spoonflower calls pixel lines, and they're genuinely hard to spot at normal zoom in your working file. The fact that a fabric printer maintains a whole support article on checking for repeat flaws tells you how routinely this slips through.
Two checks catch nearly everything:
- Tile it big. In Photoshop, Select All, then Edit, then Define Pattern. Make a canvas several times your tile size and fill it with the pattern. Grid artifacts and accidental diagonal lines become obvious once you see a dozen repeats at once.
- Match your artboard exactly. In Illustrator, pixel lines usually trace back to artwork and artboard dimensions that don't match. Align them and the gaps disappear.
Then zoom out further than feels necessary. Clusters and channels that are invisible at tile level turn into strong diagonal stripes across a yard of fabric.
The Scale Problem Nobody Mentions
Here's the gap in every repeat pattern tutorial we reviewed: not one discusses physical print scale. They all stop at a tile that looks right on a monitor, which tells you nothing about how big the motif lands on cloth.
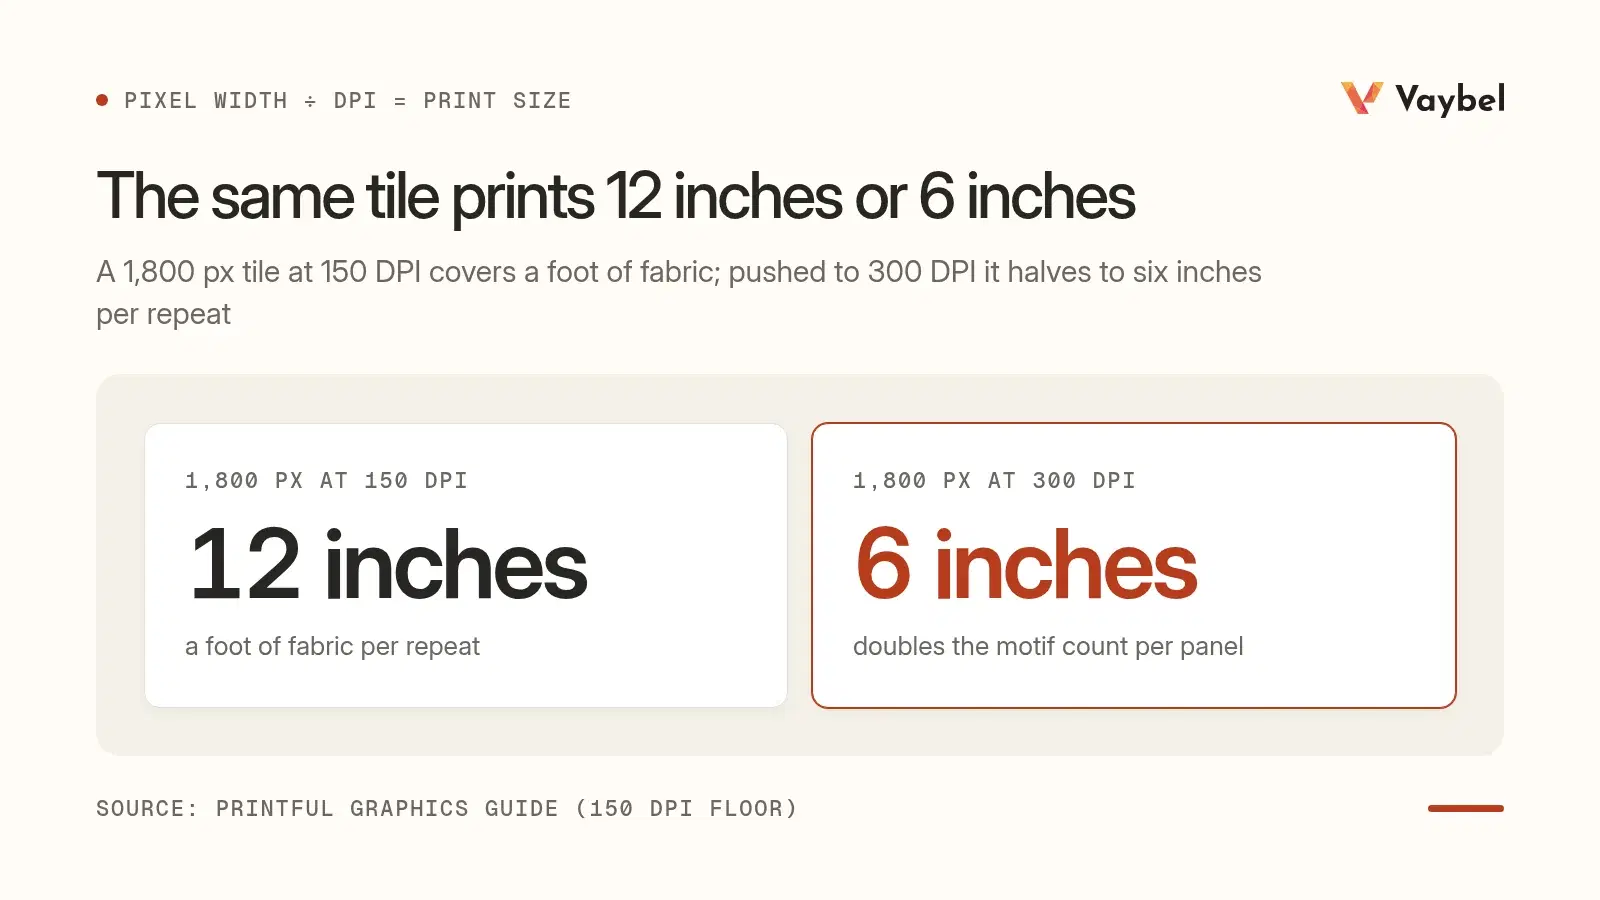
Print scale comes from pixel dimensions divided by DPI. Printful requires at least 150 DPI for everything that isn't a paper print, and treats that as the working standard for garments (graphics and embroidery guide). Run the division and the consequences are stark.
| Tile width | Printed at 150 DPI | Printed at 300 DPI |
|---|---|---|
| 900 px | 6 inches | 3 inches |
| 1,800 px | 12 inches | 6 inches |
| 3,600 px | 24 inches | 12 inches |
Take one tile through that table as a worked example. A tile built at 1,800 px square, printed at the 150 DPI Printful treats as its floor, covers a foot of fabric per repeat. On an adult tee that's under two repeats across the chest, which reads as a bold, large-scale print. Push the same file to 300 DPI and you get six inches per repeat, doubling the motif count across the same panel and turning a statement print into a texture.
Nothing about the artwork changed. Only the arithmetic did.
Choose Motif Scale for the Garment, Not the Swatch
Judging scale from a swatch on screen is the fastest way to a print you regret. A motif that reads beautifully in a square preview can print at the size of a dinner plate across a hood, and there's no way to know from the swatch alone.
Work backwards instead. Decide how many repeats you want across the widest panel, measure that panel, and set your tile size from there. A single sample garment answers the question permanently, which is why it's worth ordering one before a production run.
Ready to skip the scale guesswork? Vaybel anchors pattern scale to the garment's largest panel and keeps every other panel at matching physical scale. Start your free trial and put a pattern on a real blank this week.
Where Flat Repeat Patterns Break on Real Garments
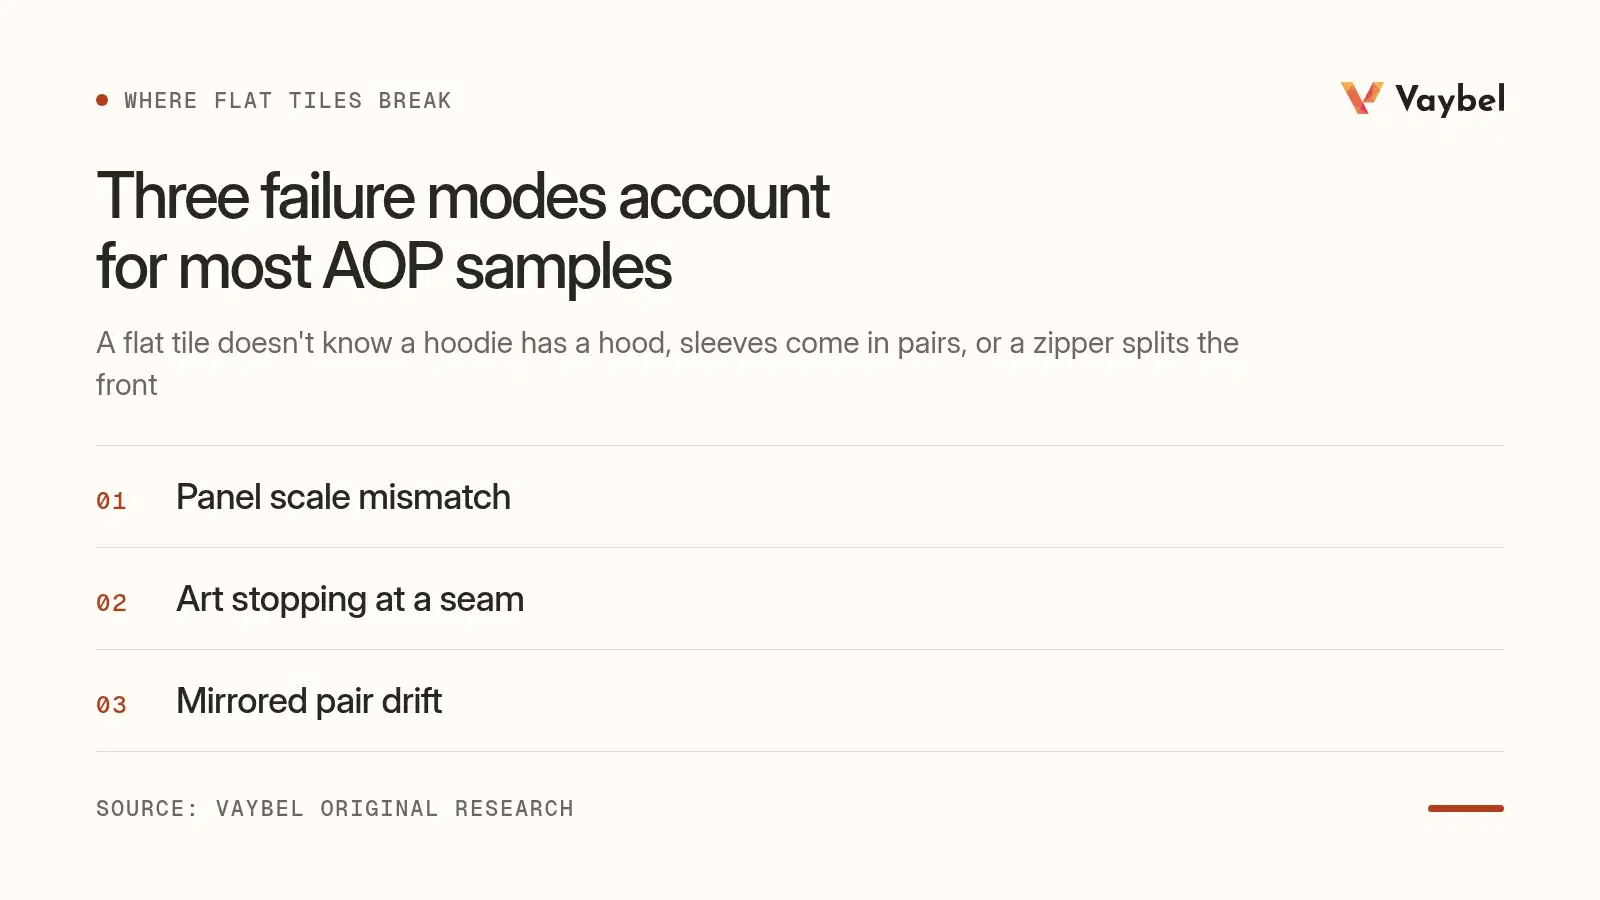
A flat tile has no idea it's going onto clothing. It doesn't know a hoodie has a hood, that sleeves come in pairs, or that a zipper splits the front into halves. Three failure modes follow from that, and they account for most disappointing all-over-print samples.
| Failure mode | What you see on the sample | How to catch it first |
|---|---|---|
| Panel scale mismatch | Sleeve motifs larger or smaller than the body | Compare px-per-inch on every panel, not per file |
| Art stopping at a seam | Pattern dies at the pocket or hood edge | Check that overlay pieces derive from their host panel |
| Mirrored pair drift | Left and right sleeves obviously don't match | Align both crops to a shared seam column, mirror one |
Sleeves, Hoods, and Pockets
Cut-and-sew garments get printed as flat panels before assembly, so each panel is its own canvas. Print the same tile at the same pixel scale onto a body panel and a sleeve panel and they come out fine individually. Put them side by side on a finished all-over-print hoodie and the mismatch shows, because the panels aren't the same physical size.
Pockets and hoods make it worse. Both are extra pieces cut from the same pattern sheet, and unless the print accounts for them, the art stops dead at the seam instead of flowing through it.
Mirrored Pairs: Why Left and Right Must Match at the Seam
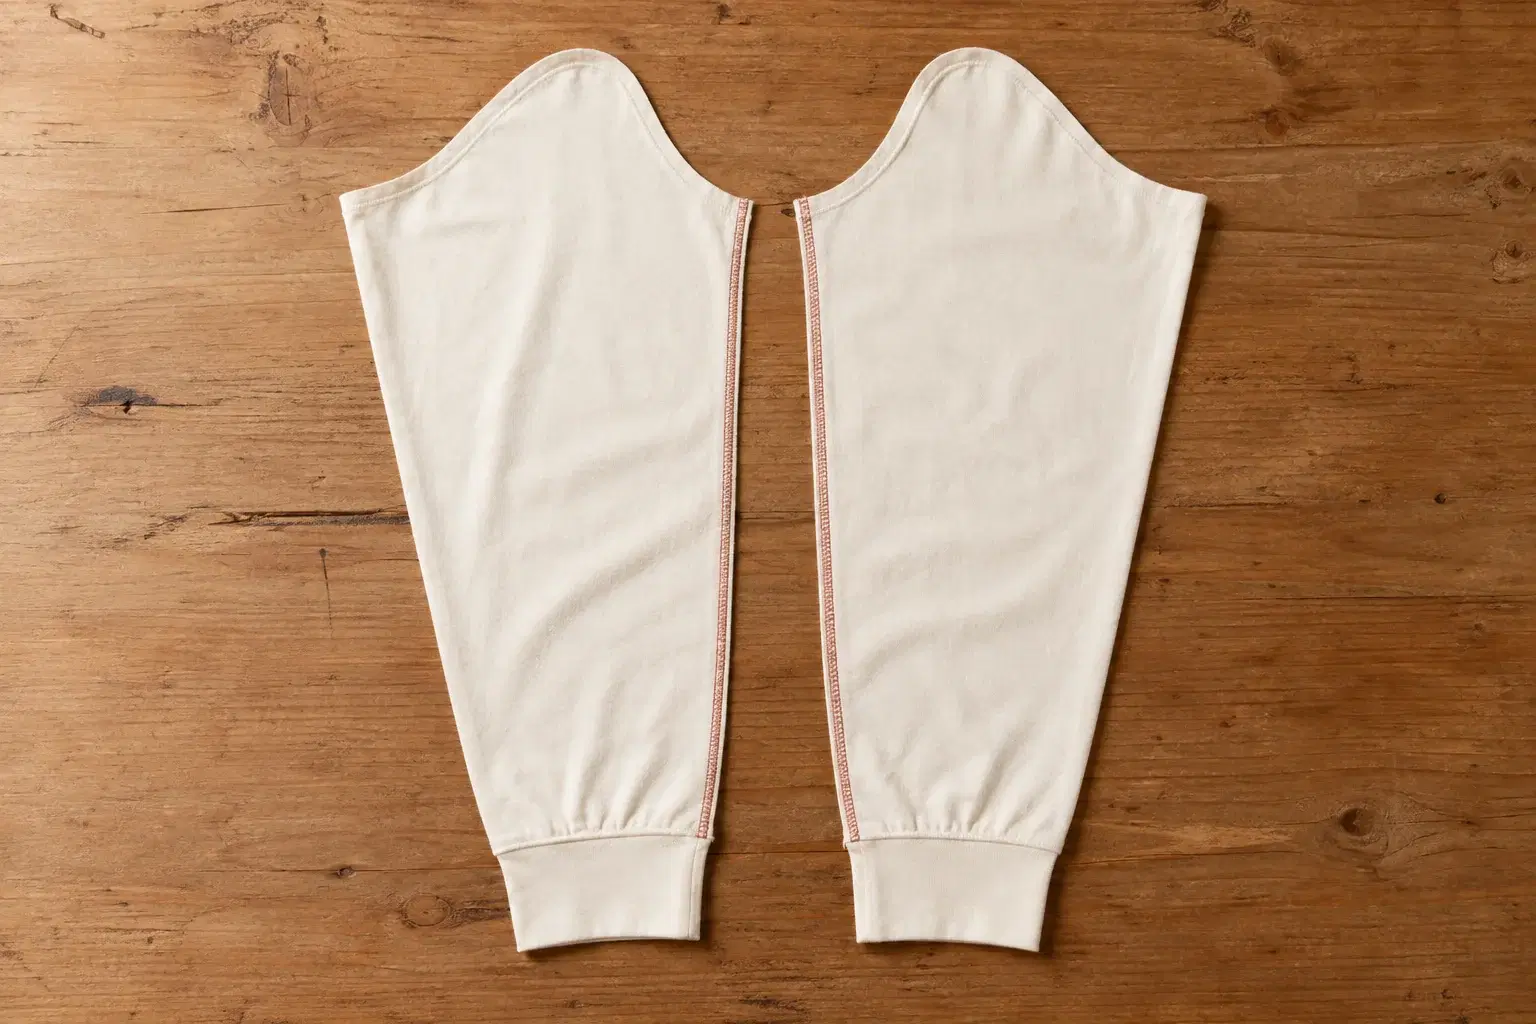
This one gets zero coverage anywhere we could find, and it's the most visible defect once you know to look. Left and right sleeves are mirrored pieces. So are pant legs, and so are the two halves of a zip front.
Give each of them an independently cropped section of your pattern and the wearer ends up with sleeves that clearly don't match, plus a zip line where motifs collide at different angles. Fixing it properly means aligning both crops to a shared seam column and mirroring one side, so the stitched edges continue into each other. Vaybel handles that by giving mirrored twins a shared seed and a common seam column, then mirroring the right side, which is the kind of problem worth automating because doing it by hand is miserable.
Cut-and-Sew AOP vs Printing on a Finished Blank
These two production methods place completely different demands on your file. Printing onto a finished blank limits you to a print area on an assembled garment, so your pattern gets treated as a graphic inside a rectangle. Cut-and-sew all-over print puts ink across whole panels before assembly, edge to edge.
Our breakdown of DTG versus all-over print covers the cost and file differences in full. The short version for pattern work: cut-and-sew is the only route that gives you true coverage across a printed tee, and it's also the route where panel alignment starts to matter.
When to Stop Hand-Repeating
Hand-building repeats is a genuine craft skill and it's worth learning. It's also the wrong tool for a few specific jobs, and knowing which is the difference between a productive weekend and a wasted one.
What Automated Tiling Handles
Three jobs are tedious enough by hand that software wins outright:
- Matching physical scale across panels so a sleeve and a body panel print at the same px-per-inch.
- Aligning mirrored pairs at their seams so left and right sleeves continue into each other.
- Slicing one continuous scene across a worn body so it reads as a single picture rather than a dozen mismatched rolls.
None of these are creative decisions. They're geometry, and they're exactly what Vaybel's design pipeline does: one pattern sheet anchored to the garment's largest panel, deterministic per-panel crop windows at matching scale, and mirrored-pair seam continuity for sleeves, legs, and zip pockets. If you're writing prompts rather than drawing tiles, our guide to AI prompts for clothing design covers how to describe a surface you actually want.
What You Still Control
The motif is yours. So is palette, density, repeat type, and how bold the scale reads on the body. Automation is worth having for the alignment math, not for the taste, and picking the right base garment still matters more than either. Our guide to choosing blanks for a clothing brand covers that decision.
Frequently Asked Questions
Can you give me an example of a repeating pattern?
Gingham is about the clearest one. A single square containing two crossing stripes tiles into a full check, and you can see the tile boundary if you look for it. Polka dots, houndstooth, and stripes are all single tiles repeated on a grid.
What is the rule of repeating patterns?
One rule: opposite edges must match exactly. Whatever leaves the right edge has to enter the left at the same position and color, and the same holds for top and bottom. Every technique here exists to satisfy that rule.
How can I convert an image to a seamless pattern?
Crop it square, then run the offset method so the joins sit in the middle of the canvas, and retouch across them with a healing or clone tool. For photographs and scans, a mirror repeat is faster, because mirroring the art into four quadrants forces matching edges (Spoonflower's repeat options). Mirroring does leave visible symmetry, so it suits textures better than figurative art.
Can Canva create seamless patterns?
Canva can tile art and has pattern templates, but it has no offset filter and no true pattern-tile engine, so you can't reliably build a matching-edge tile from scratch in it. Use it for laying out finished patterns, not for constructing the repeat.
How do you use AI to create seamless patterns?
Most AI image tools generate a square image with no edge matching at all, so the output tiles with obvious joins. Tools built for surface work handle the tiling separately from the art generation, which is the part that matters. For garments, the harder problem isn't generating the tile, it's scaling and aligning it across panels.
How do I create a step and repeat pattern?
Worth flagging that this is usually a different thing. "Step and repeat" normally means an event backdrop with a logo repeated in offset rows, built at banner dimensions rather than as a tiling swatch. If that's your project, you want a half-drop arrangement of one logo at fixed spacing, not a matching-edge tile.
Put the Pattern on a Garment
Learning how to create a repeat pattern takes an afternoon. The offset method, a Procreate duplicate-and-nudge workflow, or Illustrator's Pattern Options will all get you a tile with matching edges, and tiling it large will tell you whether it worked.
The part worth slowing down for is everything after the tile:
- Tile it big before you trust it. Pixel lines and accidental diagonals only appear across a dozen repeats.
- Set scale from arithmetic, not from the swatch. Pixel width against DPI decides how big the motif lands on cloth.
- Design for panels, not for a rectangle. Sleeves, hoods, and pockets are separate canvases on a cut-and-sew garment.
- Check your mirrored pairs. Sleeves and legs have to meet at the seam, and nothing in your design file enforces that.
- Order one sample. It answers every scale question permanently and costs less than a production run.
Get the tile right and you have artwork. Get the panels right and you have a product.
Ready to put a repeat pattern on a real garment? Start your free trial and take a pattern from tile to printed blank without doing the alignment math by hand.