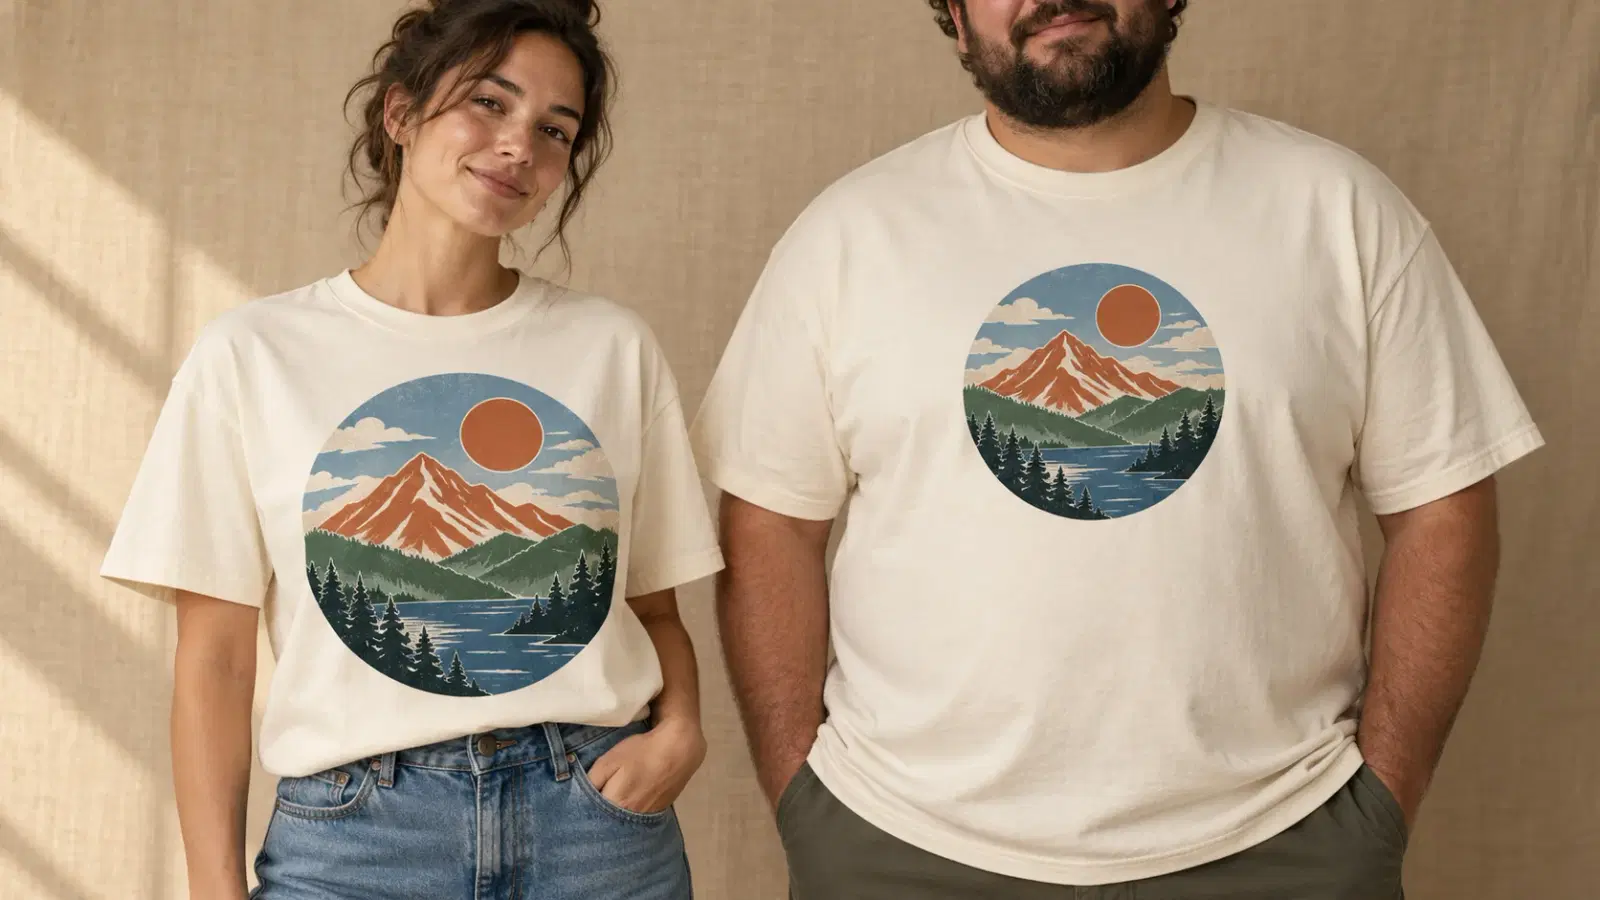
The standard t-shirt design size for a full front print is 10 to 12 inches wide, starting about 3 to 4 inches below the collar. A left chest logo runs about 3 to 4 inches wide, and a full back print is usually 10 to 14 inches wide.12 That's the chart. It's also why your sample can come back looking wrong.
Here's the part the charts leave out. If you sell through Printify, the dashed print area you design on always shows a size L shirt, even when you've selected a different size.3 Most of your customers aren't wearing an L.
You already know the basics: center it, don't print it on the belly, keep the logo small. That gets you most of the way.
This t-shirt placement guide gives you the full chart, then the four things that move a print-on-demand (POD) print after you hit save. Those are size scaling, empty file space, file shape, and provider tolerance. It finishes with a pre-order checklist you can run in about ten minutes. If you're still deciding how to show the finished product, our guide to AI mockups for print on demand covers the imagery side.
Key Takeaways
- A full front print is usually 10 to 12 inches wide and starts 3 to 4 inches below the collar; a left chest logo is about 3 to 4 inches wide.12
- Printful and Printify size prints in opposite ways. Printful generally prints the same dimensions on every size, while Printify shrinks XS to M and never enlarges past L.43
- On a Bella+Canvas 3001 fulfilled by Printful, one 12-inch design covers 56% of an XS's width but only 38% of a 5XL's. The M looks smaller than both the S and the L.45
- Printify treats up to 0.5 inches of placement drift as normal, not a defect.6
- Check the smallest and largest sizes you sell before you order, and order one sample of each.
T-Shirt Design Size Chart: Every Placement at a Glance
Use this chart as your starting point. The ranges come from Printify's 2026 placement guide.1 RushOrderTees' larger screen-print standard is noted below the chart.2
| Placement | Where it starts | Typical width | Typical height | Good for |
|---|---|---|---|---|
| Center chest | 3 to 3.5 in below the collar | 6 to 10 in (8 in is common) | 6 to 8 in | Statement graphics, wordmarks |
| Left chest | About 3 in down, above the armpit line | 2.5 to 5 in (4 in is standard) | 2.5 to 5 in | Logos, small marks |
| Full front | 3 to 4 in below the collar | 10 to 12 in | 10 to 14 in | Main artwork |
| Oversized front | 2 to 3 in below the collar | 12 to 15 in | 14 to 16 in | Streetwear, bold prints |
| Back collar | About 1 in below the collar | 1 to 3 in | 1 to 3 in | Small logo, URL, handle |
| Upper back | About 4 in below the collar | 10 to 14 in | 1 to 6 in | Names, taglines |
| Full back | 3 to 4 in below the collar | 10 to 14 in | 6 to 15 in | Tour-style backs, big art |
| Sleeve | 1 to 3 in above the hem | 1 to 4 in | 1 to 4 in | Small icons, flags |
| Inside the pocket area, left chest | 2.5 to 4 in | 2.5 to 4 in | Pocket tees | |
| Youth center chest | Varies with the shirt | 7 in or less | 7 in or less | Kids' sizes1 |
In centimeters, a standard left chest logo size is about 7.5 to 10 cm wide and a full front print is about 25 to 30 cm wide.
Notice that the charts don't fully agree. Printify says a full front is 10 to 12 inches wide, while RushOrderTees treats 12 by 14 inches as its standard.2 That spread isn't a mistake. What really decides it is the print area your provider offers for that exact blank, and that's where the rest of this guide comes in.
How Big Should a Shirt Design Be?
For most adult tees, make your main front design 10 to 12 inches wide and place it 3 to 4 inches below the collar. For a subtle brand mark, go with a 3 to 4 inch left chest logo instead. Then check the result against the provider's print area for your blank, because that area sets the ceiling.12
Front Prints: Center Chest, Full Front, or Oversized
A center chest print reads as a deliberate graphic and works across a wide size range. A full front fills more of the shirt and suits detailed artwork. An oversized front is a style choice, and it's the one that breaks first on small sizes, because a print that wide can't fit a narrow shirt.
RushOrderTees says plainly that it can't print 14 inches wide on youth sizes, smaller women's sizes, tank tops, or V-necks.2 If your size run starts at XS, design for the smallest shirt first.
Left Chest Logo Size and Placement
Left chest means the wearer's left, which is on the right as you look at the shirt. Keep the logo 3 to 4 inches wide and about 3 inches down. Printify measures from the shoulder seam and keeps the logo above the armpit line, while RushOrderTees measures from the collar.12 Either way, judge logo placement on a shirt someone is wearing, not one lying flat on a table.
If the logo is embroidered rather than printed, go a little smaller and simpler. Fine lines and tiny text don't stitch well, so check Printful's embroidery design guidelines before you commit to a detailed mark.
Back, Sleeve, and Pocket Prints
A back collar print is the subtlest way to add a second branded touch, at 1 to 3 inches about an inch below the collar. Upper back works for names and short lines. A full back is where big artwork goes, since the back panel lies flatter than the chest and prints there tend to look closest to the mockup.1
Most sleeve prints go on one arm, usually the left.1 They also have a quirk. Printify doesn't scale sleeve prints by garment size, so a sleeve print stays the same size across all sizes.3 Printify's mockup previews don't show sleeve prints either, so you won't see them until the sample arrives.7
T-Shirt Design Size in Pixels
Your file needs enough pixels for the print size. Printify recommends 150 to 300 DPI at final print size, so a full 15 by 18 inch area needs at least 2250 by 2700 pixels at 150 DPI.1 At 300 DPI, that doubles to 4500 by 5400. In Canva or Photoshop, set the canvas to the provider's recommended pixel dimensions for that product, not a generic square. Our guide to AI prompts for clothing design works through the pixel and DPI math, so we won't repeat it here.
Want to design inside the right print area from the start? With AI design for print-on-demand in Vaybel, you choose the blank and placement first, then generate the artwork to fit it.
Why Your Print Doesn't Land Where the Chart Says
A t-shirt print size chart assumes one shirt in one size, printed by one shop. A POD brand is selling one file across nine sizes through a provider whose rules you didn't write. Four things move the print.
The Same Design Prints at Different Sizes Across Your Size Run
This is the big one. The t-shirt design size you set isn't the size every shirt gets, and Printful and Printify handle it in opposite ways.
Printful says that as a general rule it doesn't scale designs by garment size: your design typically prints at the same dimensions on every size. The exception is products with its newer 15 by 18 inch front area, where smaller sizes are downscaled to fit 11.5 by 13.8 inches. Printful's own worked example: a 10-inch-wide design prints about 7.7 inches wide on the smaller sizes.4 On the Bella+Canvas 3001, the large area covers sizes L through 5XL.8
Printify works the other way. For DTG and most DTF products, it scales the design down for smaller sizes, but it won't scale up past L, and it keeps the aspect ratio the same. Its Product Creator only lets you place the design on an L, and the dashed print area always shows the L. Scaling also differs by print provider, because their pallets are different sizes.3
Here's what that means in practice. Take one 12-inch-wide front design on a Bella+Canvas 3001 fulfilled by Printful. Using Printful's downscale rule and the shirt's published flat widths, this is how much of the shirt the print covers:45
| Size | Shirt flat width | Printed width | Share of shirt width |
|---|---|---|---|
| XS | 16.5 in | 9.2 in | 56% |
| S | 18 in | 9.2 in | 51% |
| M | 20 in | 9.2 in | 46% |
| L | 22 in | 12 in | 55% |
| XL | 24 in | 12 in | 50% |
| 2XL | 26 in | 12 in | 46% |
| 3XL | 28 in | 12 in | 43% |
| 4XL | 30 in | 12 in | 40% |
| 5XL | 32 in | 12 in | 38%5 |
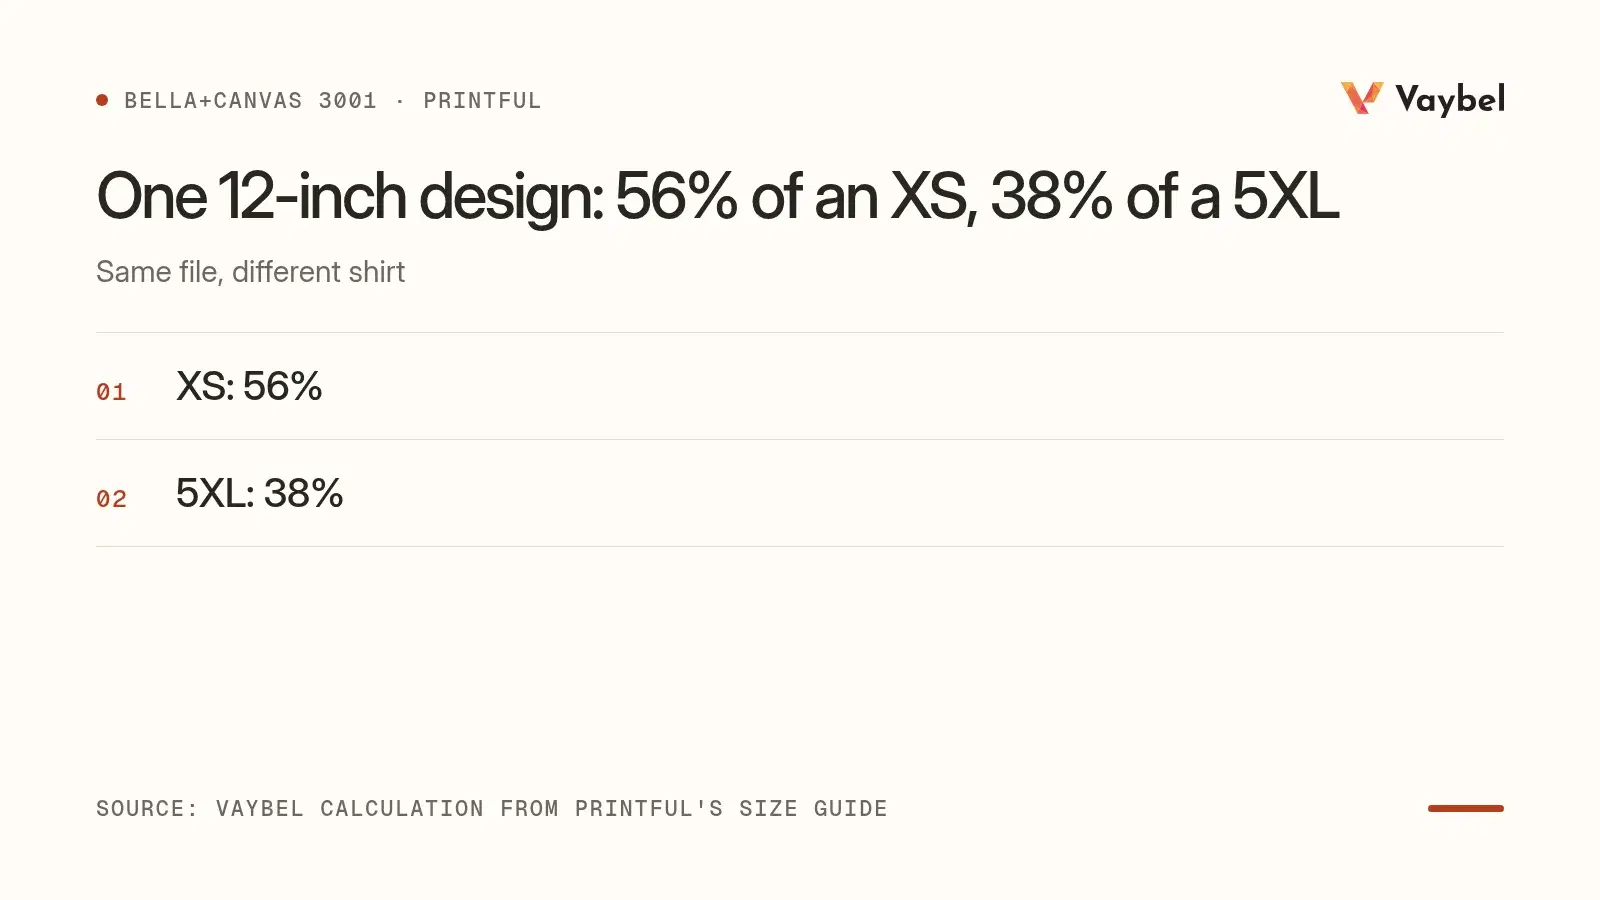
One file covers anywhere from 38% to 56% of the shirt.5 The surprise is the M. It's the widest shirt that still gets the downscaled print, so its print looks smaller than both the S and the L. If your best-selling size is M, that's the shirt most of your customers judge you on.
Printful offers a workaround: upload a larger file for the downscaled variants so they print at your intended size. To get a true 10-inch print on those sizes, it suggests uploading a file about 13 inches wide for them.4
Empty Space in Your File Is Part of the Print
Providers place your file in the print area, not your artwork. If your design sits in the bottom half of a tall transparent canvas, the empty space above it can still count, and the print lands lower on the shirt by roughly that much.
This is a common cause of a "printed on the belly" sample. Trim your file to the edges of the artwork, then position it in the provider's editor, where you can see it against the collar. Printful's file-prep guide lists transparency among the checks that help reduce placement issues.9
A File the Wrong Shape Gets Fitted, Not Followed
Every product and print area has a maximum printable size. Printify's help center says that if your design is larger than the available print area, you'll need to adjust it so it fits inside the boundaries shown in the Product Creator.10 A wide, short file in a tall print area leaves empty bands. A tall file in a wide area hits the height limit first and prints narrower than you planned.
The fix is boring and reliable. Start from the provider's recommended pixel dimensions for that product and placement, and build your canvas to that exact shape.
Every Provider Allows Some Drift
Even a perfect file won't land in the same spot on every shirt. Printify treats up to 0.5 inches of placement variation as normal on DTG, DTF, embroidery, and all-over print products.6 Printful doesn't publish a number. It says minor variations happen "due to human involvement in the printing process," while its refund policy still covers a wrong placement as a misprint.9
Fourthwall puts it most plainly in its quality standards: "Placement is template-driven, not pixel-perfect." Its line for a real defect is a print that's rotated, clearly off-center compared to the mockup, or shifted onto a seam or pocket.11
So design with a margin. Keep text and fine detail well clear of seams, the collar, and the armpit line, so a half-inch shift doesn't matter.
For a visual t-shirt logo placement guide, the video below walks through every common placement and how shops measure each one.
Video: Every T-Shirt Placement Explained by Ryonet, a screen-printing supplier, covering placements for DTF, screen printing, and heat pressing.
How to Check Placement Before You Order a Sample
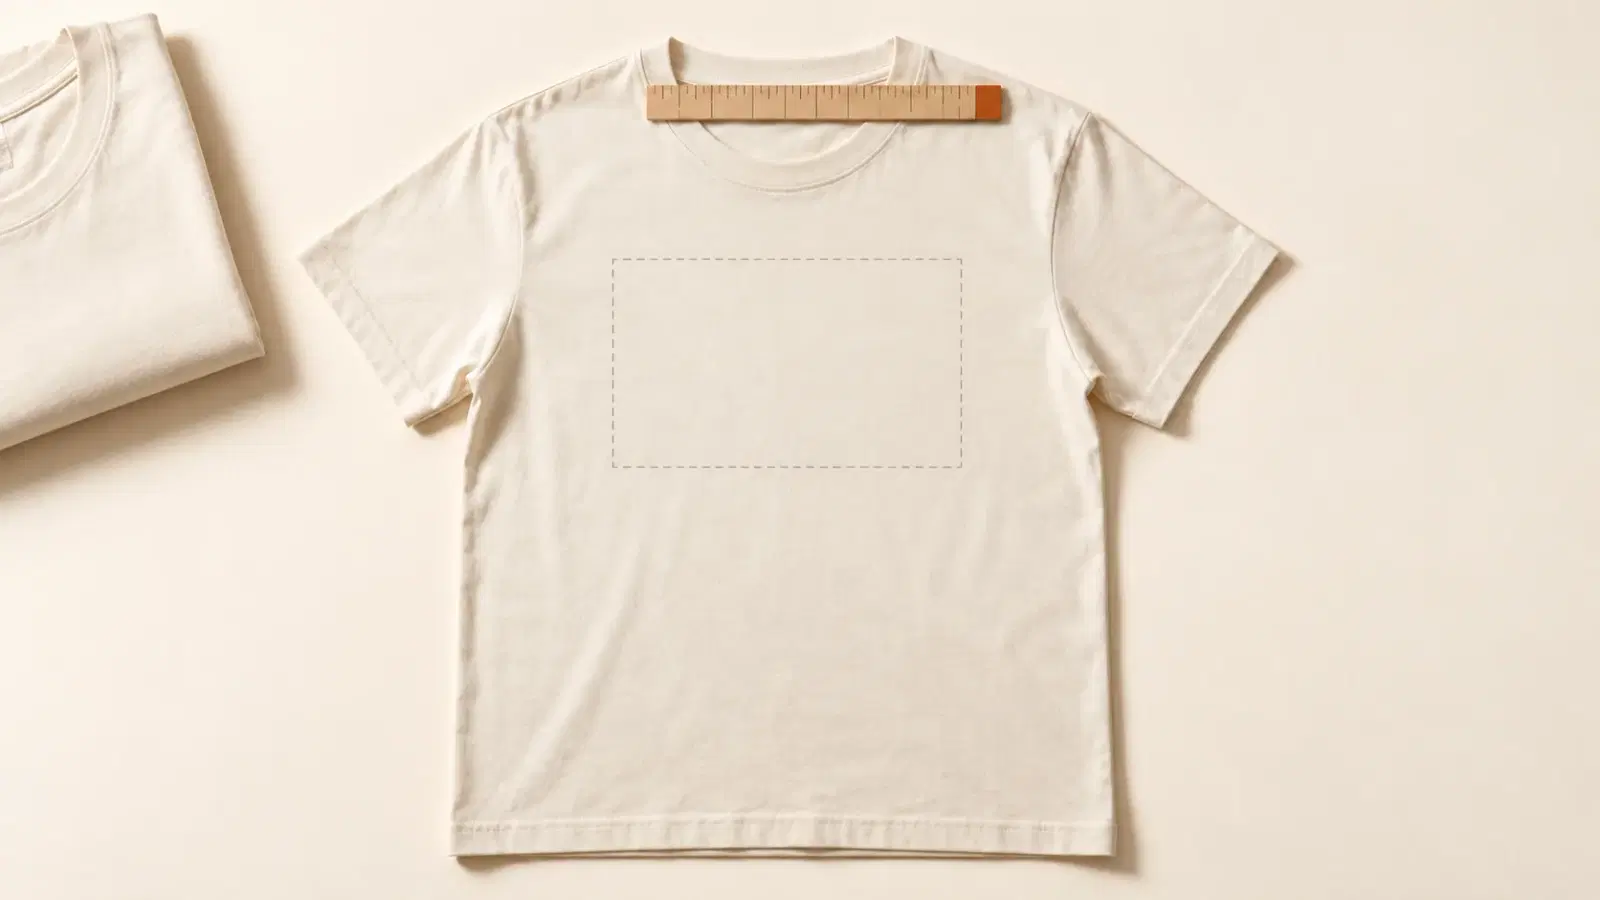
Printify says it plainly: its mockups are representations, not a one-to-one guarantee, and it recommends ordering samples.7 You can still catch most design placement problems on screen first. Here's the routine.
- Find the real print area for this blank and provider. On Printful, open the product's File guidelines tab. On Printify, open the Product Creator, choose Select variants, keep one size and one color, and read the recommended pixels in the Upload panel.3
- Check your smallest and largest sizes, not only the L. Run the share-of-width math from the table above for your own size run.
- Look at a flat view of the print area, not only the mockup. A flat view shows collar clearance and width honestly. A styled mockup can hide both in a fold.
- Check sleeves and any extra print areas separately. Printify's mockup previews don't show them.7
- Do the paper test. RushOrderTees suggests printing your design at full size on a home printer, taping the pages together, and laying them on a real shirt.2 It takes a few minutes and catches most sizing mistakes.
- Order two samples: your smallest size and your largest. Our guide to ordering samples notes that a print area that looks right on an M can sit differently on an XS.
If a sample does come back wrong, document it the way the provider asks. Printify wants the shirt laid flat with a ruler or measuring tape showing the incorrect placement.12
Where Vaybel Fits
Vaybel doesn't print or ship. Your provider does, and its placement rules still apply. What Vaybel changes is how much you can see before you get there.
In the Vaybel AI Design Generator, you pick the blank, can set the garment color or let Vaybel choose it, and name the placements in your prompt before any artwork is generated. Each print is generated at its print area's proportions. A single-graphic brief normally gets one front print, and other placements stay blank unless your brief calls for them.
Depending on the product, the preview shows a 3D model of the garment or a mockup of the print on the blank, and all-over prints also get a flat 2D pattern of every panel. That lets you check where the print sits and how big it looks before anything prints.
Then do what our own feature page tells you to do: check the file against your provider's requirements and order a sample. If you want the longer case for previewing on a real blank, our piece on previewing artwork on a 3D garment covers it.
Ready to see your design inside the real print area? Start a 7-day free trial and generate your first placement-ready design.
Frequently Asked Questions
What size should a t-shirt design be?
For a standard adult front print, aim for 10 to 12 inches wide, placed 3 to 4 inches below the collar. Use 6 to 10 inches for a center chest graphic and 3 to 4 inches for a left chest logo. Then confirm the result fits your provider's print area for that exact blank.12
How far down from the collar should a shirt design be?
Most front designs start 3 to 4 inches below the collar, and an oversized front can start 2 to 3 inches down. Printify warns against placing designs too low, which creates a "belly print."1 Also check for transparent space at the top of your file, since it can push the print down.
Should a logo go on the left or right chest?
Standard left chest logo placement is on the wearer's left, which appears on the right as you face the shirt. Keep it about 3 to 4 inches wide and above the armpit line.12
Does my design print bigger on larger sizes?
Usually not. Printify doesn't scale designs up past size L, and Printful generally prints the same dimensions on every size. Either way, a 2XL gets the same physical print as an L, so it covers less of the shirt.43
What image size should I use for a medium shirt?
Use the recommended pixel dimensions your provider lists for that product and size. In Printify, select only the M in the Product Creator and read the Upload panel. Build at 300 DPI where you can, with 150 DPI as the floor.13
What's the standard pocket print size?
Keep a pocket print 2.5 to 4 inches wide and tall, sitting on the left chest inside the pocket area.1
Size for the Shirt, Then Check the Print
The chart gets you close: 10 to 12 inches for a full front, 3 to 4 inches for a left chest logo, 3 to 4 inches below the collar.12 The provider's print area decides the rest. Your t-shirt design size is only as good as how it looks on the smallest and largest shirts you sell.
Three things to carry out of this:
- Know your provider's size rule. Printful mostly prints one size on everything; Printify shrinks the small sizes and caps at L.
- Clean up the file. Trim empty space and match the print area's shape.
- Check the extremes. Run the share-of-width math for your smallest and largest sizes, then order those two samples.
If your choice of blank is still open, our ranking of the best blank t-shirts for clothing brands compares how each one prints.
Start your free 7-day trial → Pick a blank, choose your placement, and see the print area before you spend a dollar on samples.
Footnotes
Footnotes
-
Printify, The ultimate t-shirt design placement guide for 2026, updated September 29, 2026. Source for the placement distances, size ranges, youth sizing, pocket guidance, the usual sleeve side, and the 150 to 300 DPI recommendation. ↩ ↩2 ↩3 ↩4 ↩5 ↩6 ↩7 ↩8 ↩9 ↩10 ↩11 ↩12 ↩13 ↩14 ↩15
-
RushOrderTees, Logo Placement Guide: Top 8 T-Shirt Print Locations. Source for the 12 by 14 inch full front standard, the 3 to 4 inch left chest width, left chest measured from the collar, youth and women's size limits, and the paper print-out test. ↩ ↩2 ↩3 ↩4 ↩5 ↩6 ↩7 ↩8 ↩9 ↩10 ↩11
-
Printify Help Center, Will my design be scaled up or down based on the garment size?, updated October 11, 2026. ↩ ↩2 ↩3 ↩4 ↩5 ↩6 ↩7
-
Printful Help Center, How is my design scaled for different garment sizes?, retrieved October 13, 2026. ↩ ↩2 ↩3 ↩4 ↩5 ↩6
-
Flat widths from Printful's Bella+Canvas 3001 product size guide, retrieved October 13, 2026. The share-of-width figures are Vaybel's calculation: a 12-inch design, Printful's 11.5/15 downscale on XS to M, and no scaling on L and up. ↩ ↩2 ↩3 ↩4
-
Printify Help Center, How does Printify handle refunds and returns?, retrieved October 13, 2026. ↩ ↩2
-
Printify Help Center, Why does my product look different from the mockup?, updated October 3, 2026. ↩ ↩2 ↩3
-
Printful Help Center, What should I know about the standard 15″ × 18″ print placement for DTG products?, updated October 4, 2026. ↩
-
Printful Help Center, Disclaimers for Printing Techniques and How should I prepare my print file for the best results?, and What is Printful's return and refund policy?, all retrieved October 13, 2026. ↩ ↩2
-
Printify Help Center, How are the print areas different?, updated October 9, 2026. ↩
-
Fourthwall Help, Print quality control standards, retrieved October 13, 2026. ↩
-
Printify Help Center, How can I report an issue with my order?, updated October 10, 2026. ↩