Your first clothing product. One considered step at a time.
Start with one audience, one blank, and one shop. This guide takes you from an idea to a reviewed listing—and shows what to check before sending customers to it.
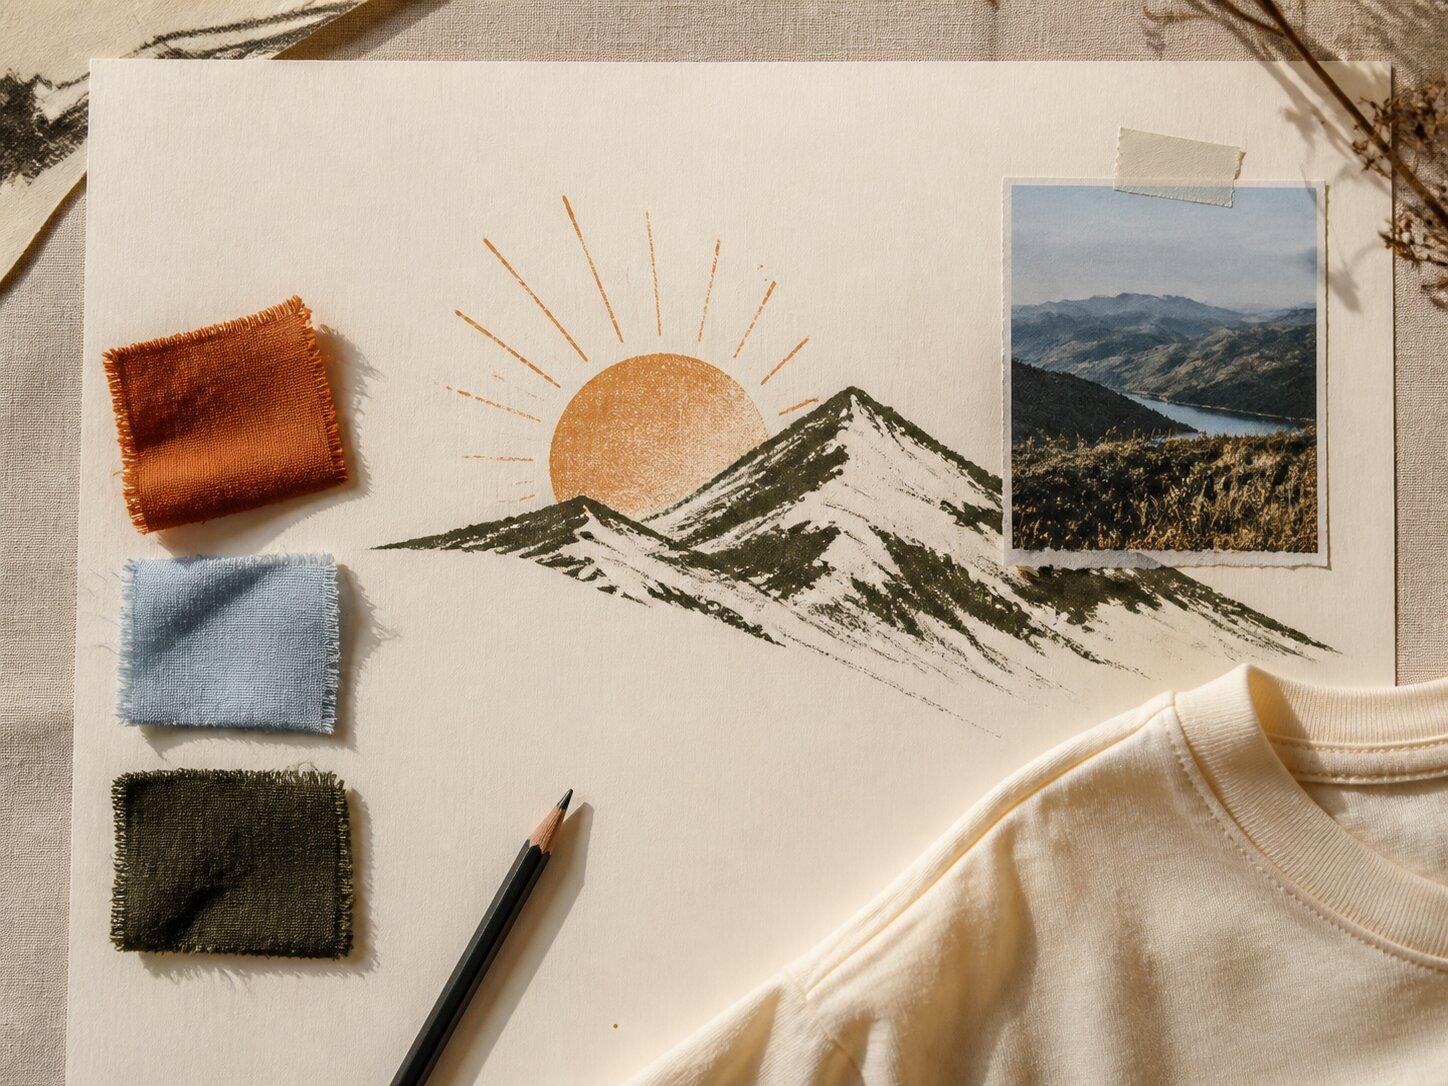 A direction worth exploring.
A tee for a person.
A reason to wear it.
For this guide, imagine a small outdoor label making a cream graphic tee for people who spend their weekends walking local trails. The first goal is a coherent product and a working shop connection.
Bring a short description of your brand, an original design idea or artwork you own, and a rough budget for samples and production. Leave the larger collection until you have checked the first product.
Estimate your Vaybel creditsGive Vaybel your brand context.
Open Settings → Brand and describe what you make, who it is for, and the style you want. Vaybel uses this Brand DNA across designs, listing copy, and virtual model mockups. Review the generated profile and edit anything that does not sound or look like your brand.
Example brand direction“An independent outdoor label for weekend walkers. Relaxed tees and hoodies, illustrated landscapes, warm earth tones, and a friendly, understated voice.”
Be specific about the people and the clothing. You can refine colors, audience, tone, and logo details later; the first version just needs to give the creative work a direction.
Set up your Brand DNAConnect the shop and the printer.
These connections do different jobs. Your sales channel is where the customer buys. Your production partner makes and ships the clothing. Open Settings → Integrations in the workspace that should own the product.
Sell on
 Etsy
Etsy TikTok Shop
 Shopify
Print and ship with
 Printful
 Printify
Connect the intended shop and your Printful or Printify account, then check which production store is linked to that sales channel. An active account connection alone does not confirm that the right stores are paired.
You can explore designs before completing these connections. Finish and verify the setup before publishing. If you print and ship orders yourself, use the self-fulfillment guide.
Choose one blank you can stand behind.
Open Launch Product and select the garment you want to work on. For a first product, a tee with one main print placement gives you fewer decisions to manage than a large collection with several print methods.
Compare the fit, material, available colors and sizes, print areas, and provider. Choose a blank that fits the audience and the price you want to support. The illustration is only one part of what the customer receives.
Start with a cream garment and a front print. Keep the first color range narrow. Order a sample to check whether the fabric, fit, and print feel right for the label.
Make a direction, then refine it.
In the design step, describe the subject, composition, palette, and intended placement. Use the available placement controls. If you attach a logo or image, explain how you want it used in the prompt.
Example starting brief“An original mountain and rising-sun illustration for the front of a cream tee. Dark olive, ochre, and rust. Bold shapes, clear negative space, an outdoorsy field-guide feel. No lettering.”
Review the first result on the garment. If the idea is right, refine the part that needs work. If the direction is wrong, improve the brief before generating again. Add the garment colorways you want before creating the listing, and check the contrast on each one.
Zoom in on the artwork: inspect edges, lettering if present, background, and print placement. Available preview modes depend on the product; a digital preview does not verify a physical print.
Help someone understand the clothing.
Create mockups and select the images you want in the listing. Give each image a purpose: a clear front view, another useful angle, an on-model view, or sizing information. Follow the image guidance shown in the workflow and avoid filling the gallery with near-duplicates.
Check every selected image for garment color, artwork size and position, unexpected details, and a useful crop on mobile. AI model images illustrate the product; use a sample to verify what the customer will actually receive.
Video is optional. You can continue with your product images and prepare the listing. Growth adds social content creation and publishing when you are ready to build more content around the drop.
Build and select mockupsDraft one listing for one shop.
Choose the channel you want to start with and generate the listing draft. Read the title, description, and channel-specific fields. Keep the product language concrete: what the garment is, how it fits, which design is printed, and what the buyer should know about sizing and care.
Review the selected images, variants, price, shipping information, and any validation messages. Fix weak or incorrect fields before publishing. You are ready to continue when the listing accurately describes the product and its production setup.
This checklist is for your own review. It does not publish a product or change your account.
Review and publish a listingCheck it in the shop. Check it at the printer.
Open the published product in the intended sales channel. Inspect the gallery on your phone, choose the available variants, and read the description as a customer would. Channel processing or review can affect when a listing appears.
Then check the product in your production provider: the correct blank, variants, placements, and print files should be linked. Review the order settings so you understand how production will start when an order arrives.
Order a sample before promoting the product widely. Once the product and fulfillment setup are sound, create a small launch post, set a date to review the response, and decide what to improve next. You can build the rest of the collection from what you learn.
Order a sample and review qualityOne product, from brief to listing.
The new walkthrough will follow a single garment through the workspace, including the review decisions between each step. Use the written guide above while the recording is being prepared.
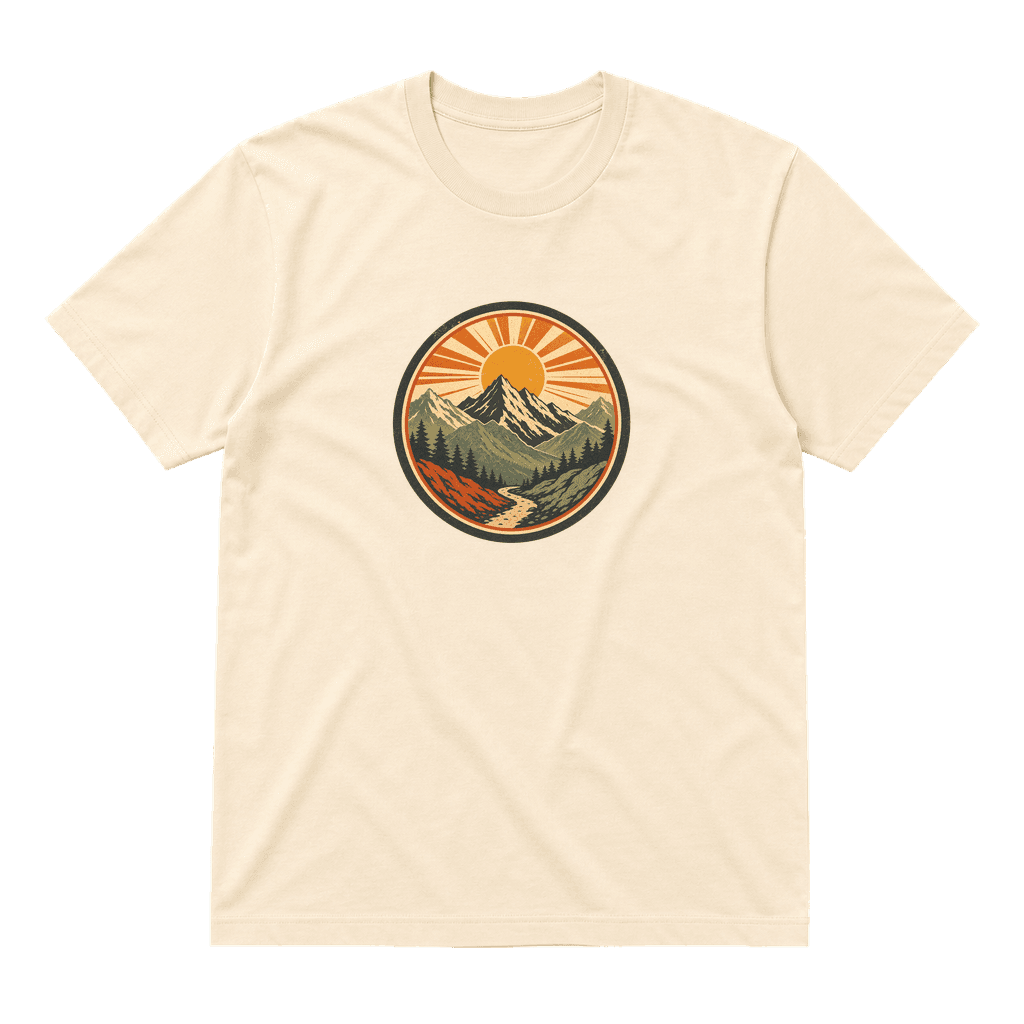 01 / Reveal
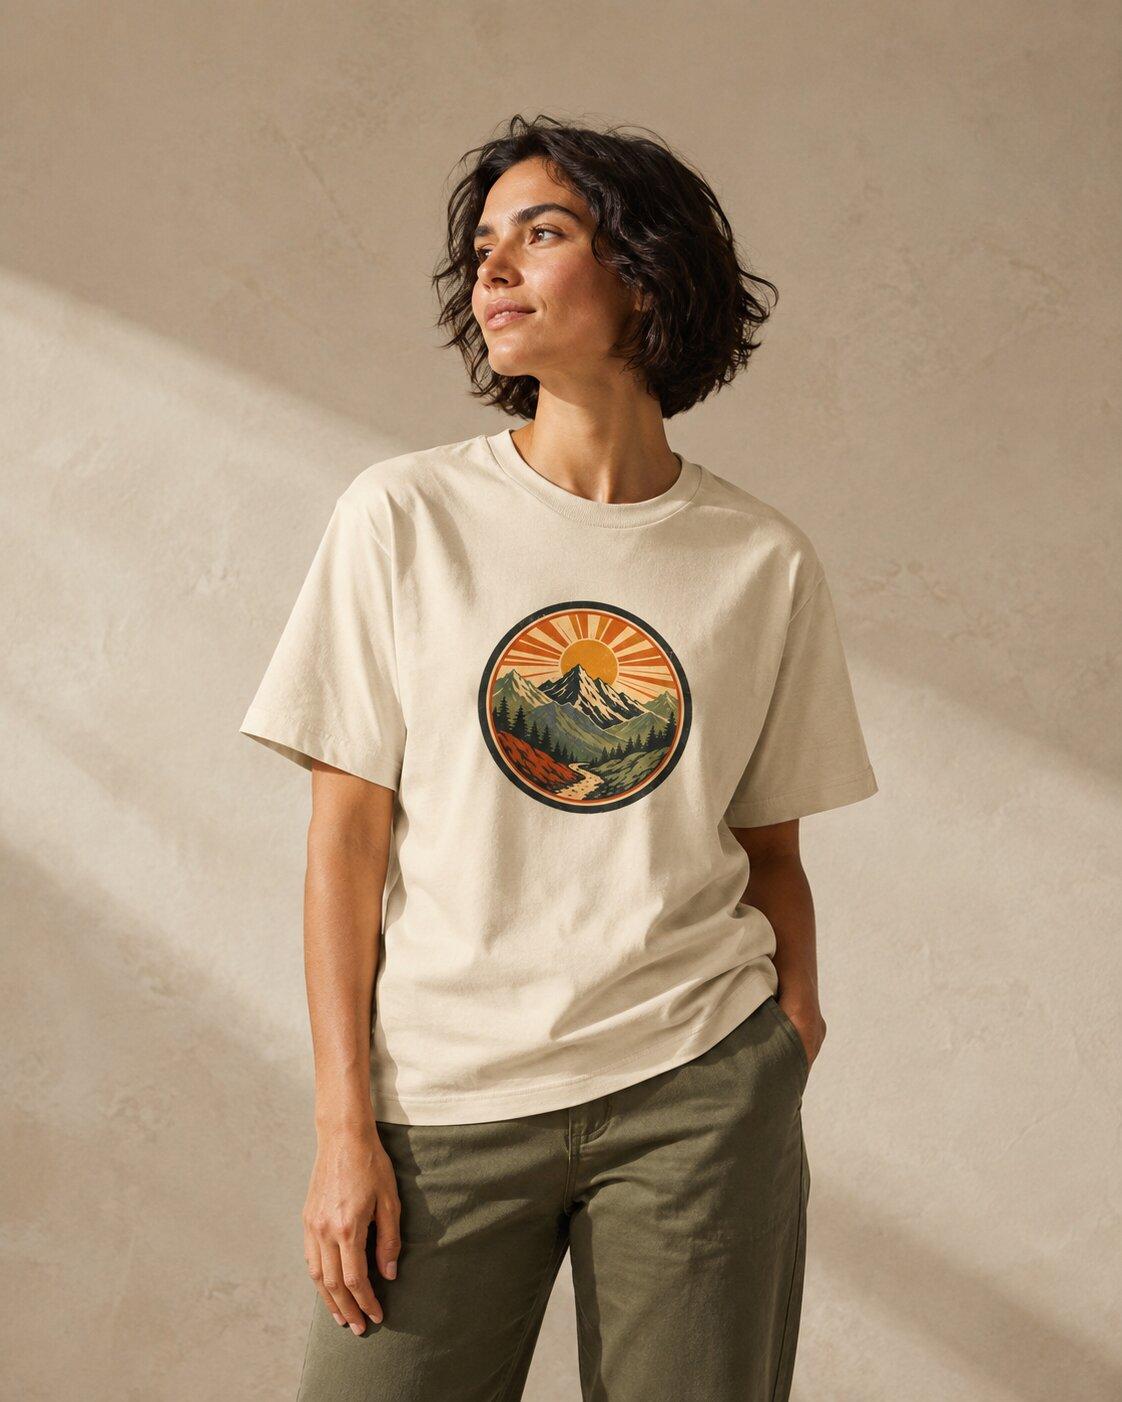 02 / Wear03 / Detail
In the walkthrough
Your first clothing product
- Set the brand and connect the accounts
- Create the artwork and image set
- Review the listing and production setup
A few things you might be wondering.
If you get stuck, start with the guide for the step you are on.
Can I start before I have an Etsy, TikTok Shop, or Shopify store?
You can explore the creative workflow first. To publish a listing, you need an eligible sales-channel account connected to the right Vaybel workspace, along with a production setup for the product you intend to sell.
Does Vaybel print and ship the clothing?
Your print provider does. Vaybel helps you create the product assets and prepare listings, while a connected provider such as Printful or Printify produces and ships the orders. If you fulfill orders yourself, follow the self-fulfillment setup guide.
Can I bring my own design?
Yes. Use your own artwork in the product workflow, or attach a reference or logo when working on a design. Check your rights to the asset and review the final print file and placement.
What is included in the trial?
The 7-day Starter trial includes 200 credits for the Starter tools. A card is required; cancel before billing if you do not want to continue. Social content creation and publishing, plus shop insights, require Growth. Printing, shipping, and sales-channel charges are separate.
What if a generation or publish step fails?
Read the message for the affected item before retrying. Check the selected store, required listing fields, and provider connection. Use the troubleshooting guides linked below, or contact support with the product and channel you were working on.
Start with one good idea. Build it into a product.
Open the workspace, choose your blank, and use this guide as you work through the first listing.